
Roasted Strawberry Scones
What to Expect:
Prep Time: 2 hours 20 minutes | Cook Time: 25 minutes | Total Time: 2 hours 45 minutes
Yield: 8 scones
Buttery roasted strawberry scones that are crispy on the outside, flaky tender on the inside, and lightly sweetened with slow-roasted strawberries. (If you like a dry scone, these aren’t for you.)
These are simple scones, can be made by hand, and are just sweet enough to eat them for breakfast without feeling like you’re having dessert (no judgment if that’s your thing, I love dessert for breakfast). They’re tender, soft, and a little crumbly – they go great with a cup of tea or coffee! They don’t have a glaze or drizzle, but honestly you’re not missing out. They’re still super good without it.
Truth be told, I’ve been sitting on this recipe for several years… It took some time away for things to come together just right. Between now and then, baking queen Claire Saffitz created strawberry-riccota scones that renewed my interest in the recipe. We can thank her for cracking the code on roasting the strawberries!
For more scone recipes for your breakfast or brunch, check out my Savory Cheddar Scones with Chives and Delicate Masala Chai Inspired Scones.
Shout out to my sister-in-law, who recently asked about the recipe after thinking back to when she’d tried one of my initial tests 🙂
What You’ll Find in This Post
- What You’ll Need (Ingredients & Equipment)
- What Are Scones? How are Scones Different from Biscuits?
- How to Perfectly Roast Strawberries
What You’ll Need to Make Roasted Strawberry Scones
Ingredients for Roasted Strawberry Scones
Some scone recipes call for eggs to make the dough extra dense, but I’ve found that this recipe didn’t need them.
- Fresh Strawberries (do not use frozen strawberries; the recipe only works with fresh strawberries)
- Unsalted Butter
- All Purpose Flour
- Kosher Salt
- Baking Powder
- Granulated Sugar
- Heavy Whipping Cream
- Vanilla Extract
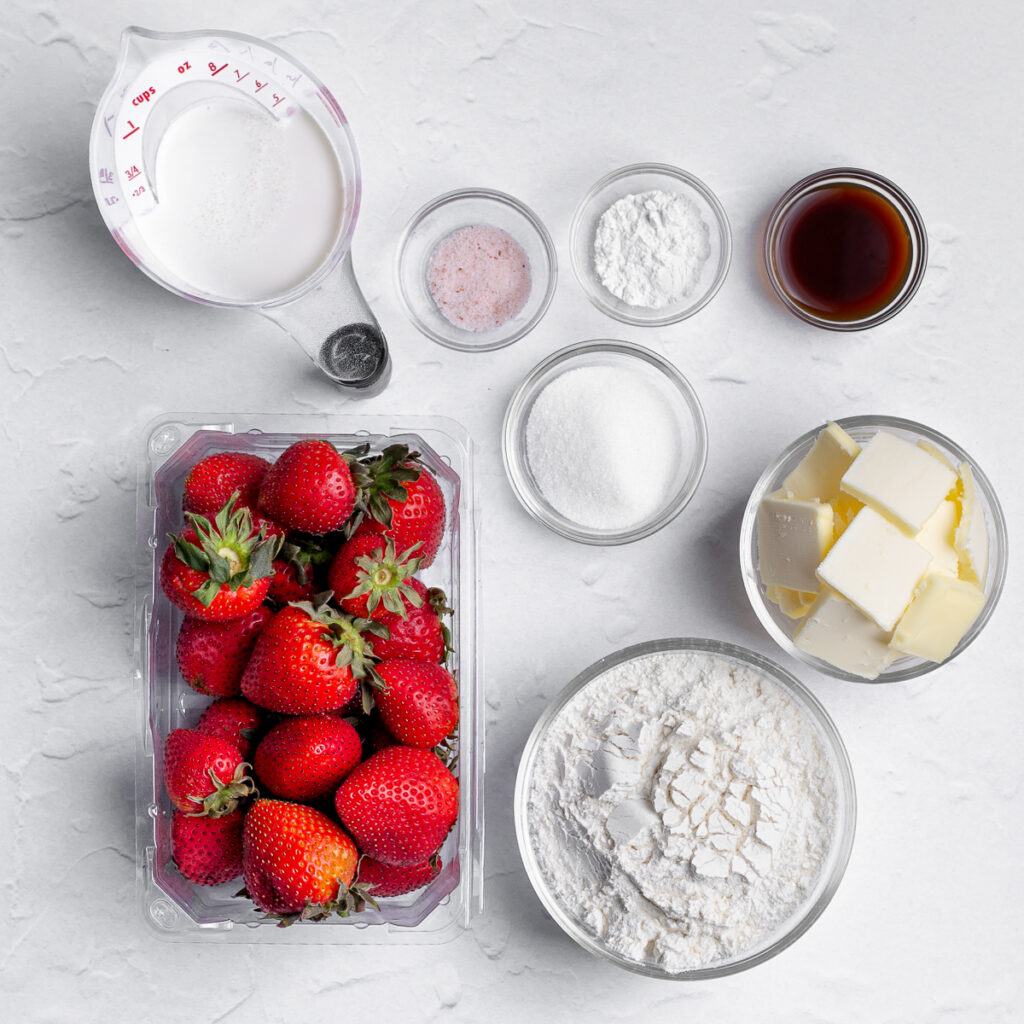
To get the best, flakiest, tender scones, make sure to keep all of your ingredients cold. Cold butter is essential to that signature scone texture. If it gets too warm before it goes into the oven, you won’t get a lift in the dough. If I find myself with dough that’s gotten too warm, I toss the baking tray and dough in the fridge until it’s ready to go in the oven.
Necessary Tools & Equipment
A lot of scone and biscuit recipes suggest using a pastry blender or pastry cutter, but I’ve found there’s no problem with using clean hands to cut in the butter as long as you work quickly.
You’ll need a knife to cut your dough as well as the strawberries. You’ll also need a medium mixing bowl. You can mix the dough by hand, but you could also use a wooden spoon or stiff spatula if you prefer to minimize getting your hands dirty. Lastly, you’ll need a baking tray lined with parchment paper or a silicon baking mat.

What are Scones? How are Scones Different from Biscuits?
Scones and biscuits can be very similar. Their ingredient base is nearly identical, though scones typically rely on the addition of rich ingredients that make a denser, more crumbly crumb. While the British traditionally consume cream scones that can be dense and at times dry, Americans have a more loose interpretation that leans more toward a biscuit.
I like a more moist and tender scone, so these roasted strawberry scones lean more toward a biscuit, as most American scone recipes do.
How to Roast Strawberries
Strawberries have a pretty high moisture content, so it’s super important we roast them properly first so that the dough doesn’t over-hydrate. This is why this recipe for roasted strawberry scones only works with fresh strawberries.
I’ve tried using frozen strawberries and when I have, the scones turned out a soggy mess. So make sure you use fresh strawberries. I recommend making this recipe when they’re in season and have a beautiful bright red color to get the best flavor.

If you make these roasted strawberry scones, be sure to let me know your thoughts and how they turn out! Be sure to tag me @ficklebea on Instagram so that I can see what you make.
PrintRoasted Strawberry Scones
Buttery roasted strawberry scones that are crispy on the outside and flaky tender on the inside, and lightly sweetened with slow-roasted strawberries. (If you like a dry scone, these aren’t for you.)
- Prep Time: 2 hours 20 minutes
- Cook Time: 25 minutes
- Total Time: 2 hours 45 minutes
- Yield: 8 scones 1x
- Category: Breakfast
- Method: Baking
Ingredients
1 pound Fresh Strawberries
2 cups All-Purpose Flour*
1/2 teaspoon Kosher Salt
1 and 1/2 teaspoon Baking Powder
2 Tablespoons Granulated Sugar
8 Tablespoons Unsalted Butter – cold, sliced into thin slices (thinner than a tablespoon per slice). Store the butter in the fridge until you’re ready to use it.
1/2 cup Heavy Whipping Cream – cold, stored in the fridge until ready to use
1 Tablespoon Vanilla Extract
Instructions
Roast the Strawberries
This can be done a day ahead.
- Preheat the oven to 250 Fahrenheit.
- Wash the strawberries (1 pound) before trimming off the tops and cutting into quartered pieces (for larger berries, cut into sixths).

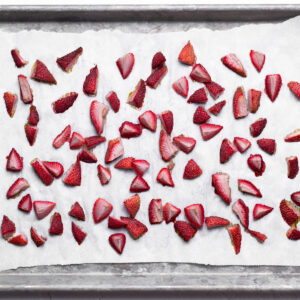
- Spread evenly on a baking sheet lined with parchment paper and roast for 1 hour and 20 minutes.
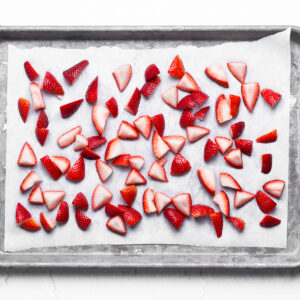
- Allow to cool completely before making the scone dough. If roasting the strawberries ahead of time, allow them to cool completely, then store them covered in the fridge (I put them in a container with a tight-fitting lid).
Make the Scones
- Preheat the oven to 400 Fahrenheit.
- In a medium-sized mixing bowl, add the all-purpose flour (2 cups), kosher salt (1/2 tsp.), baking powder (1.5 tsp.), and granulated sugar (2 Tbsp.) and whisk until combined – about 1 minute.
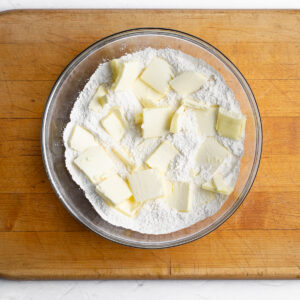
- With clean hands, add the cold unsalted butter slices (8 Tbsp.) to the dry ingredients and toss until each piece of butter is coated in flour.Break up each slice into quarters, toss again, and pinch everything together until you get a crumbly mixture – the butter pieces should still be slightly chilly.
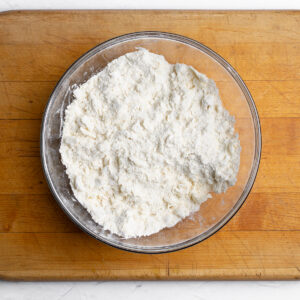
- Add the roasted strawberry slices to the dry mixture and toss until coated.
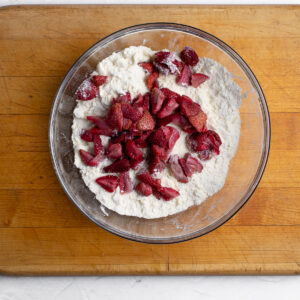
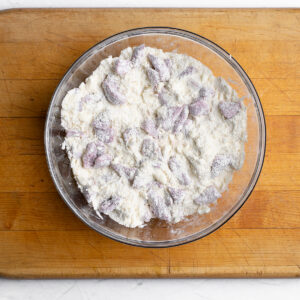
- Pour the heavy whipping cream (1/2 cup) and vanilla extract (1 Tbsp.) into the bowl and gently fold everything together with a stiff wooden spoon or spatula until no dry flour patches remain and you have a damp shaggy dough that can be shaped into a loose ball.
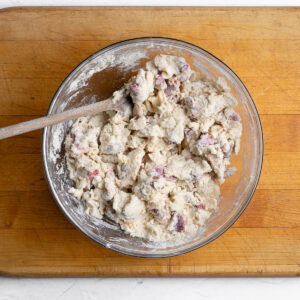
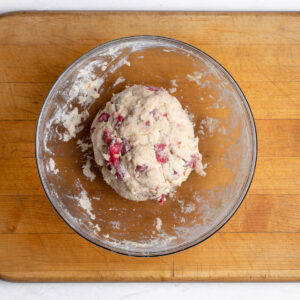
- Remove the dough ball from the bowl and, on a lightly floured clean surface, pat the dough into a disk about 1.5 inches thick (about 7-7.5 inches across).
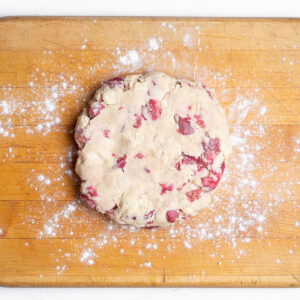
Gently slice into 8 even slices and then place the slices spread out on a baking tray lined with parchment paper or a silicone baking mat. Be very careful as the dough will be quite delicate.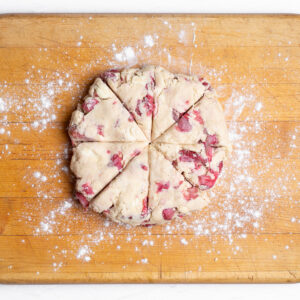

- To make sure everything is cold, place the tray in the freezer for 10 minutes or the fridge for 20 minutes. (If you’re anything like me, this is your reminder to start a timer lol)
- Brush the tops of the scones with heavy whipping cream. If you forget this step or don’t have enough to do it, it’s not a big deal, the tops just won’t be as browned and crispy.

- Bake for 20-25 minutes, or until the tops are slightly golden and firm to the touch.

- Allow to mostly cool before enjoying. Best served warm and they day of baking.
You can freeze these scones once they’re baked and they’ll last for about 2 months in the freezer. Allow them to thaw (maybe pop them in the microwave just before eating for a few seconds) and you’re good to go!
Please leave a review!
Notes
*To properly measure the flour, give it a stir before spooning it into the measuring cup and leveling with the back of a knife or the handle of the spoon.
To help with your grocery shopping, I’ve listed the ingredients below and where they’re generally located in the grocery store.
Produce
- Strawberries
Dairy
- Unsalted Butter
- Heavy Whipping Cream
Pantry
- All Purpose Flour
- Kosher Salt
- Baking Powder
- Granulated Sugar
- Vanilla Extract

Chris says
I do not like a dry scone and you were right, these are perfect! I also love seeing all the pictures for each of the steps, that’s super helpful! Keep up the good work I can’t wait to see what’s next!
Maddie says
Hi! This recipe sounds absolutely delicious—I love the idea of roasting the strawberries for extra depth of flavor. I’ve had two scones from different bakeries that are among my all-time favorites, and I’m curious what you think about incorporating elements from those into your recipe. One bakery adds melted white chocolate to the batter and finishes with a crunchy sugar crust on top. Do you think that would work well here, or might it make the scones too sweet or too moist with the roasted strawberries already in the mix? The second bakery does a jammy, sticky strawberry drizzle on top—do you think that would be strawberry overload, or could it enhance the flavor even more? I’d love to hear your thoughts on whether either of these additions could be compatible with your recipe, or which you think would work best. Thanks so much!
Sierra says
Hi Maddie!Loveee these ideas 🙂
My concern with the melted chocolate in the batter is that it might change the hydration of the scones, making them bake differently than intended. You could try adding white chocolate chips! I feel like that would be a pretty good addition that might be a shift toward what you’re looking for without changing the dough too much. If you try that, maybe start with 1/2 a cup of white chocolate chips – I feel like they can be pretty sweet.
I think the crunchy sugar on top would be really good and not too sweet. A jammy strawberry drizzle sounds delish – wow! – I don’t think it’d be strawberry overload (I actually think it sounds really good). I love leaning into a flavor.
So my recommendation (sorry for being longwinded 😅) is: if you’re wanting the white chocolate vibes, add 1/2 a cup of white chocolate chips and you can definitely top with some crunchy sugar, I’d recommend raw or demerara sugar! I also think the jammy strawberry drizzle sounds delicious and would lean into the strawberry flavor 🙂
Let me know what you end up trying and how they turn out!