what to expect:
Prep Time: 35 minutes | Cooling Time: 1 hour | Cook Time: 43 minutes | Total Time: 2 hours 23 minutes
Coriander shortbread crust topped with a bright and tangy lemon custard filling. Easy prep, minimal cleanup, and even easier to share.
*For helpful tips, images, and how-to’s, make sure you read the whole post.
I love tart lemon bars and these are not for the faint of heart! That famous lemon zip comes in strong.
Lemon bars from a box were all I’d known before this recipe, so I really wanted to replicate that signature smooth texture. Turns out, I had no idea what I was missing. Making them yourself gives the custard filling a silky texture that a box mix can’t even touch.
In my research, I found a few different ways to make lemon bars. To keep things simple and approachable, we’re using a cold custard. This means you won’t need to heat the filling on the stove before you bake it. We’ve also avoided cutting in cold butter for the crust.
What You’ll Find in This Post
- What You Will Need (Ingredients & Equipment)
- Helpful Tip: Picking the Perfect Lemons for Lemon Bars
- Helpful Tip: The Key to a Perfect Crust
- Helpful Tip: How to Get a Smooth Lemon Bar Filling
- Helpful Tip: The Best Way to Cut Lemon Bars
What You’ll Need to Make Lemon Bars with Coriander Crust
Ingredients for Lemon Bars with Coriander Crust
- All-Purpose Flour
- Granulated Sugar
- Kosher Salt
- Ground Coriander
- Unsalted Butter
- Corn Syrup or Honey
- Large Lemons
- Eggs
- Powdered Sugar
Special Equipment – A Microplane (Or Something Similar)
I really tried to keep the equipment list used in this lemon bar recipe short and sweet because dirty dishes suck. With a little rinsing between steps, this really is a one-bowl recipe.
The only unusual piece of equipment you might need is a microplane (or something similar to zest the lemons). It is essential for this recipe!
Non-Reactive Equipment is a Must When Making Lemon Bars
Ever had something super lemony taste metallic? The culprit is most likely materials used when making it! When making something so acidic, make sure you’re using non-reactive materials to avoid that accidental metallic flavor.
Examples of Non-Reactive Materials:
- Stainless Steel
- Ceramic
- Glass
- Metal Cookware with Enamel Coating
Examples of Reactive Cooking Materials:
- Aluminum
- Cast Iron Copper.
Check out this post by The Spruce Eats that gives more information on reactive and non-reactive cookware.
Many times, older whisks can be made of reactive materials that can impact the flavor. This is why I’ve requested in the recipe that you only use your whisk while working with dry ingredients before any addition of lemon.

How to Pick Lemons for Tart Lemon Bars
Look for lemons that have good color and are fairly firm – these will produce better zest.
The rind (the yellow part) is where all of the flavorful oils are, which is what we’re looking for. Make sure you aren’t accidentally zesting any of the pith (the white layer underneath the rind) because it can be very bitter.
Gently rolling the lemons between your palm and a countertop before cutting can be beneficial for extracting more juices and getting the most out of the lemons.
Creating the Perfect Lemon Bar Crust
A good lemon bar crust is firm enough to serve a hearty piece without worry of it crumbling apart in your hands. A few things play into making this happen.
- Make sure you’ve baked the crust long enough – we’re looking for lightly golden edges. Bake it too short and it isn’t going to hold up.
- Incorporate a little bit of corn syrup or honey with the melted butter. It might sound like a weird addition, but corn syrup can be used to provide structure for crusts that lack eggs, like this shortbread crust.
Let’s also talk about the addition of coriander… While the crust for lemon bars is traditionally a plain shortbread, I found that adding coriander really rounded out the flavor. Coriander has citrusy lemon notes, making it a perfect addition to your lemon bar crust.
That Silky Cold Custard Filling for Easy Lemon Bars
There are two primary ways of making a custard: warm and cold. We’re using cold custard for this recipe.
A cold custard goes into the oven “cold”, meaning it hasn’t been cooked on the stove first. I find a cold custard is easier, less time intensive, and dirties fewer dishes.
We want to avoid over-baking our cold custard in order to get that signature silky smooth lemon bar texture. Overcooking your filling runs the risk of a gummy lemon bar.
To avoid over-baking, we drop the oven temperature to cook the filling and take it out of the oven as soon as the edges have set and the center portion is still a little jiggly.
Keep in mind that your lemon bars will continue cooking after you’ve removed them from the oven, so don’t fret if they look a little underdone.
What’s the Best way to Cut Lemon Bars?
After it’s fully cooled, begin by loosening the edges of the lemon custard from the pan with a paring knife. Slowly remove it from the dish using the parchment paper tabs lining the baking dish. Transfer to a cutting board and wet the blade of a large chef’s knife with water to trim the edges, cleaning and re-wetting the blade between cuts.
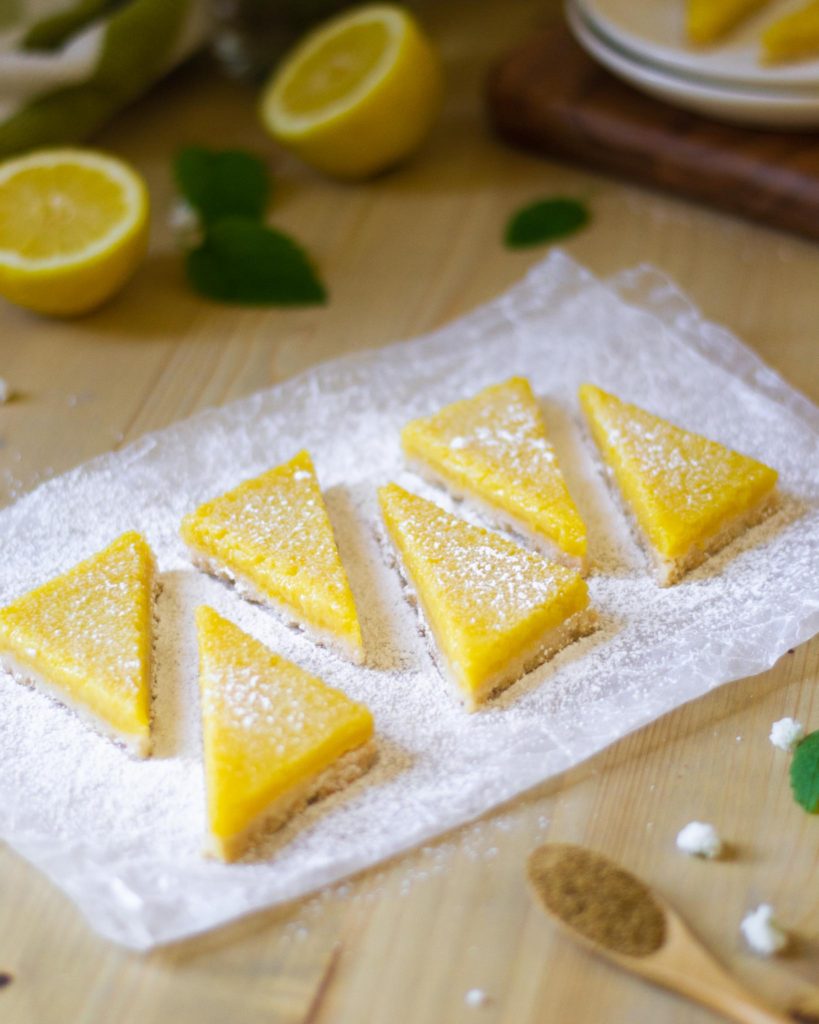
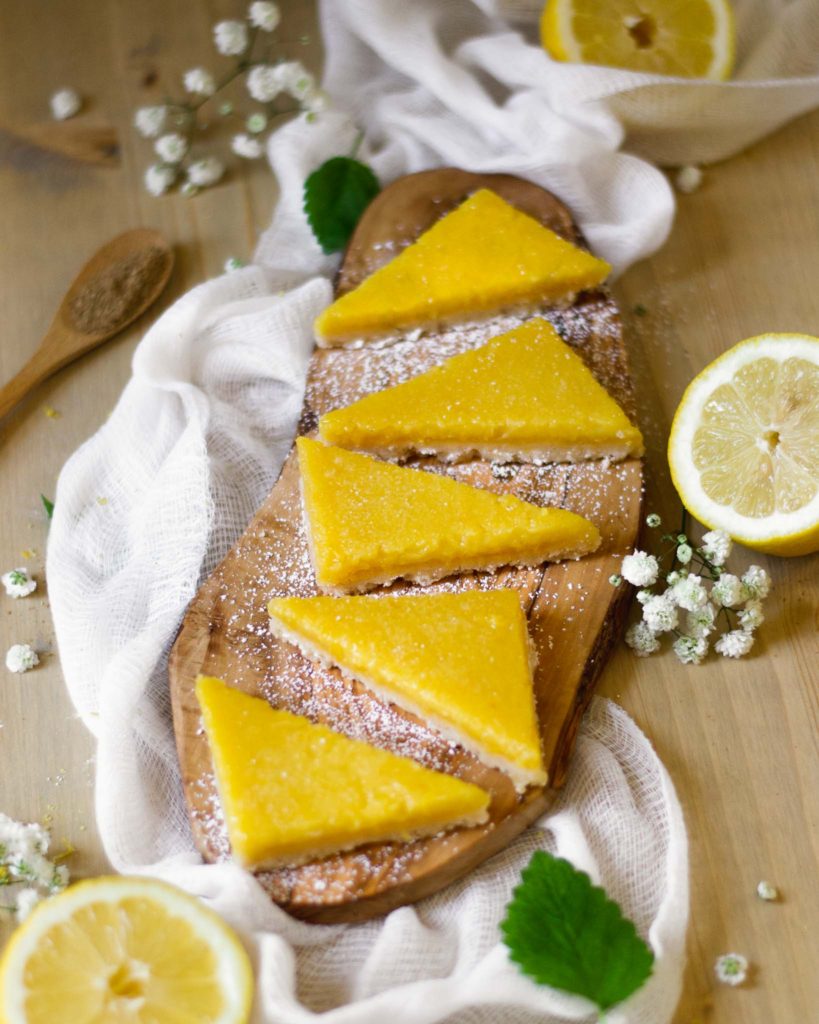
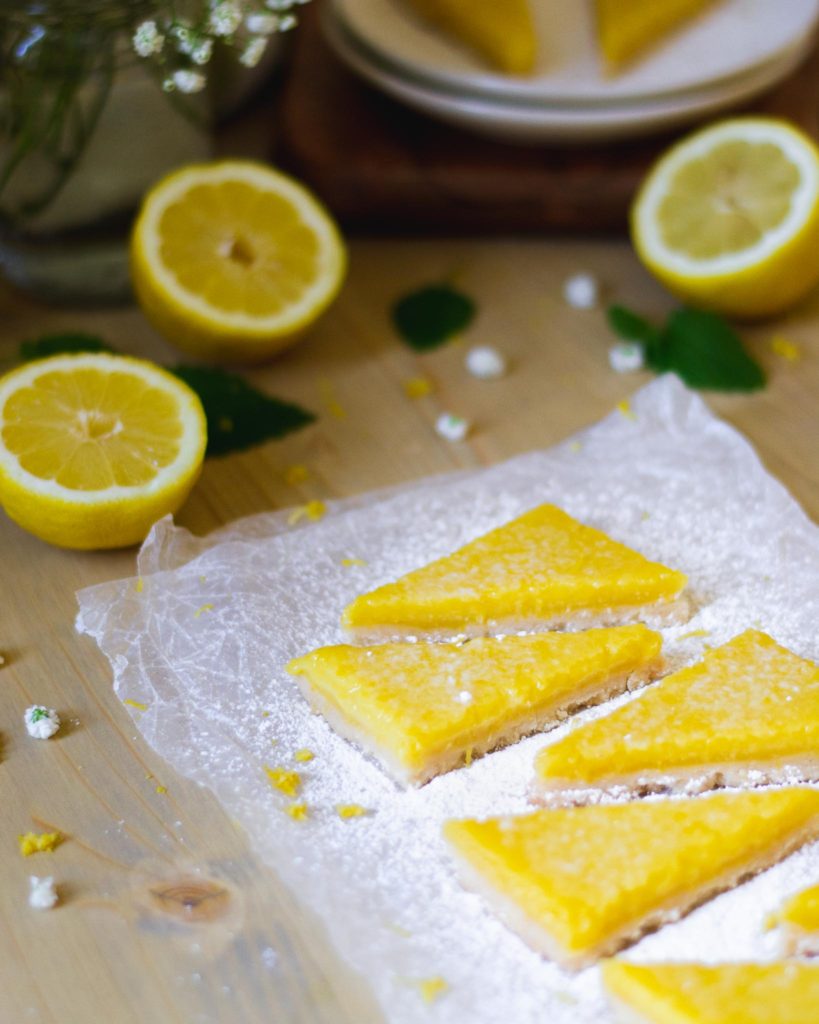
Use this cleaning and wetting method to cut the lemon bars into the shape of your choosing – I prefer triangles!

Let me know how your lemon bars turn out and feel free to leave a review! Don’t hesitate to tag me @ficklebea on Instagram so that I can see your amazing creations.
New to baking or nervous about spending more time in the kitchen? Check out My Kitchen Commandments for some helpful tips!
PrintOne-Bowl Lemon Bars with Coriander Crust
Coriander shortbread crust topped with a bright and tangy lemon custard filling. Easy prep, minimal cleanup, and even easier to share.
- Prep Time: 35 minutes
- Cooling Time: 1 hour
- Cook Time: 43 minutes
- Total Time: 2 hours 23 minutes
- Yield: 9 1x
- Category: Dessert
- Method: Baking
- Cuisine: American
Ingredients
Coriander Crust
- 1 cup All Purpose Flour
- 1/4 cup Granulated Sugar
- 1/2 tsp. Kosher Salt
- 3 tsp. Ground Coriander
- 4 Tbsp. Melted Unsalted Butter
- 1 tsp. Corn Syrup ((can sub with 1 tsp. honey))
Lemon Custard Filling
- 1/3 cup All Purpose Flour
- 1/2 cup Granulated Sugar
- 1/2 tsp. Kosher Salt
- 2 Tbsp. Lemon Zest ((zest from 2–3 large lemons))
- 3 Egg Yolks
- 3/4 cup Fresh Lemon Juice ((from 3-4 large lemons))
- Powdered Sugar ((for final dusting))
Instructions
Coriander Crust
- Preheat oven to 350℉ and lightly grease a 9×9 baking dish before lining with one piece of parchment paper from left to right, just slightly less wide than the base of your baking dish.
- In your glass bowl, whisk together all-purpose flour, granulated sugar, kosher salt, and ground coriander until thoroughly combined.
- Mix the melted butter with the corn syrup then pour into the glass bowl and lightly stir with your silicone spatula until no liquid traces remain. Then use your fingers to “cut” the dough until it is fully incorporated, crumbly, and there is no loose flour left in the bowl.
- Pour the crust into your prepared baking dish and press into an even and flat layer with your finger tips.
- Bake on the middle rack for about 20-25 minutes or until the edges of the crust are golden brown. While baking the crust, prepare your custard filling. When finished baking, drop the oven temperature to 325℉ (to ensure you won’t overcook the filling) and allow the crust to cool on a wire baking rack for 5 minutes before pouring in the filling.
Lemon Custard Filling
- Rinse and dry your glass bowl, whisk, and spatula. In your glass bowl, whisk together all purpose flour, granulated sugar, and kosher salt. Add the lemon zest and stir until incorporated using your silicone spatula.
- Add the egg yolks to the bowl and gently mix with your spatula until you have a homogenous yellow mixture that can be stirred.
- Add your lemon juice to the mixture a few tablespoons at a time, gently stirring until incorporated with your silicone spatula before moving on to the next addition. The result should be a very soupy yellow mixture.
- After the crust has cooled for 5 minutes and you’ve dropped your oven temperature to 325℉, pour the filling on top of the baked crust and then place back in the oven on the middle rack. Bake for 15-20 minutes or until the edges have set and the middle still slightly jiggles when you wiggle the pan.
- Remove from the oven and let cool on a wire baking rack for at least an hour before gently removing from the pan via parchment paper edges (might require separating other edges with a paring knife).
- Store covered in the fridge after completely cooled and portioned and serve with a generous dusting of powdered sugar.

Ashley Sanders says
These bars are the perfect treat. Easy & delicious. We ate half of them while drunk on the fourth and couldn’t believe how tasty they were. I’m confident that they will be just as fantastic while sober. Highly recommend.
sierra.filson says
I love this review! Glad you were able to enjoy them 🙂